
Bettie Page Hair Tutorial
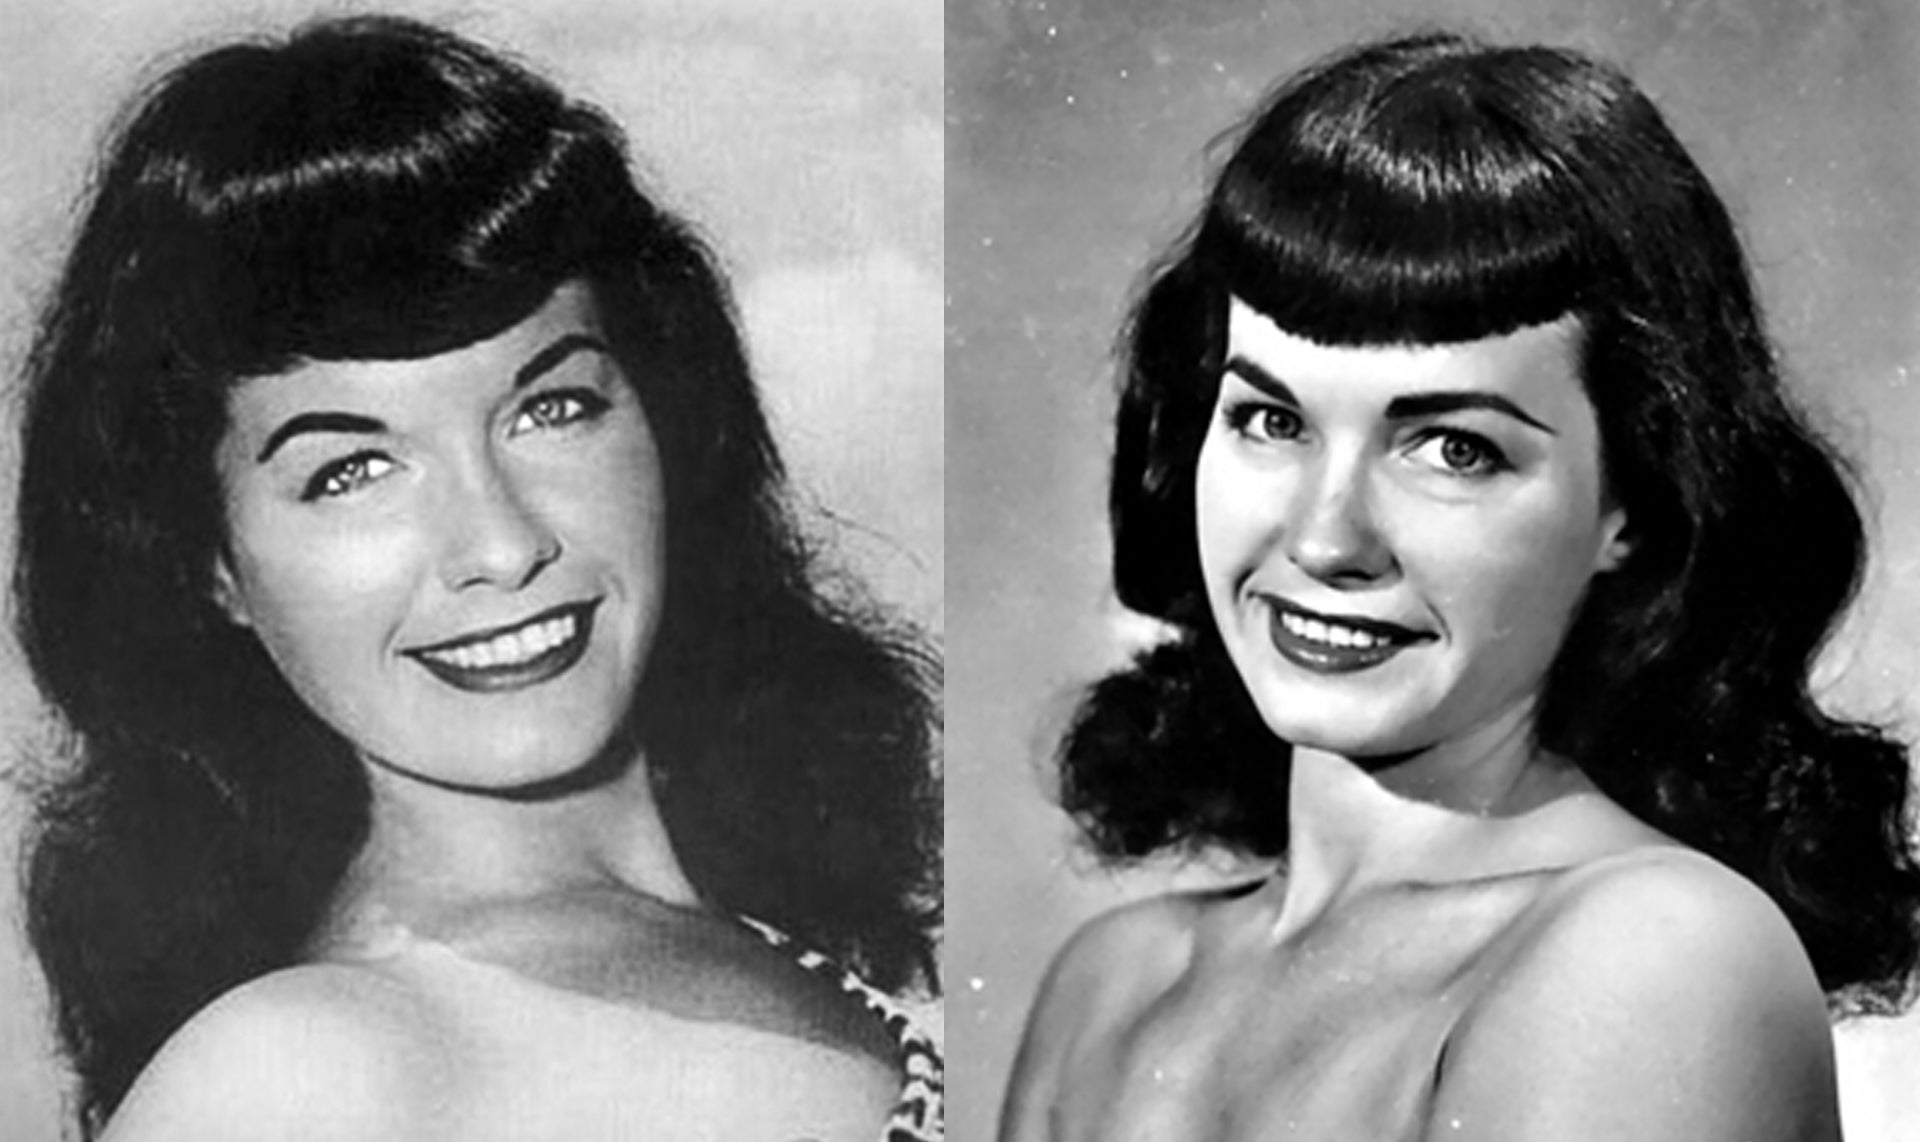
Bettie Page, an American modeling legend, became popular in the 1950’s for her pin-up pictures. Her biggest trademark was her beautiful hair which spanned just past her collar bones and was complimented by her short jet black bangs. Her bangs became so iconic that they inspired a style of their own and are commonly referred to as the “Bettie Bangs”. This tutorial is a step by step that will achieve this charming hairstyle.
Things needed for this hairstyle:
- 1” curling iron
- Wide tooth comb
- Duck bill clips
- Suavecita Firm Hold Hairspray
- Suavecita Pomade
- Starting at the bottom, leave a 2” section to work on and pin the rest up using your clips.
- With your 1” curling iron take inch sections and curl forward towards the face.
- Once you’re done, spray lightly with hairspray. Do not brush out.
- Go through every section of the hair until it is all curled.
- Grab your wide tooth comb and brush out the curls starting at the bottom, going up.
- Make sure the curls are lined up from bottom to top to keep the pattern.
- Spray hairspray generously.
- Place your duck bill clips in the areas that are dented to accentuate the wave.
- Spread a thin layer of Suavecita Pomade in your hands and apply it to the curls for extra molding and sculpting. If your hair is slightly frizzy or has flyaways, apply a small amount to smooth.
Things needed for Bettie bangs:
- Flat iron
- Fine tooth comb
- Cutting shears
- Alligator clip
- Suavecita Pomade
- Bangs should always be cut dry. If they are cut wet, once they are dry they will be jumping up a bit and will look shorter. Use your comb and angle it diagonally from your brow going upward to measure where you’ll begin. That’s where your bangs will be starting and going down to make a “U” shape.
- Pin away the hair that won’t be getting cut to avoid cutting into your length.
- Split the bangs horizontally in half. You’ll be working on the section underneath (touching forehead.)
- Comb your section.
- Since these bangs are meant to be about an inch above the eyebrows, keep that length in mind while cutting.
- Starting at the corner of your brow, grab your shears and start to cut downward.
- Once the corner is rounded, keep visualizing the “U” shape. Your corners should be the shortest and slightly getting longer in the center. A helpful tip, keep the blade against the forehead to avoid graduation.
- Cutting as bluntly as possible is extremely important to guarantee thickness in the bang. If you cut with your shears at an angle, it can give it a choppy/thinner look.
- Use your flat iron to add a bevel at the ends. You’ll want them curled inward to give them an illusion of being shorter and rounder.
- Finish the look with some Suavecita Pomade to tame fly aways or to smooth any unwanted frizz.